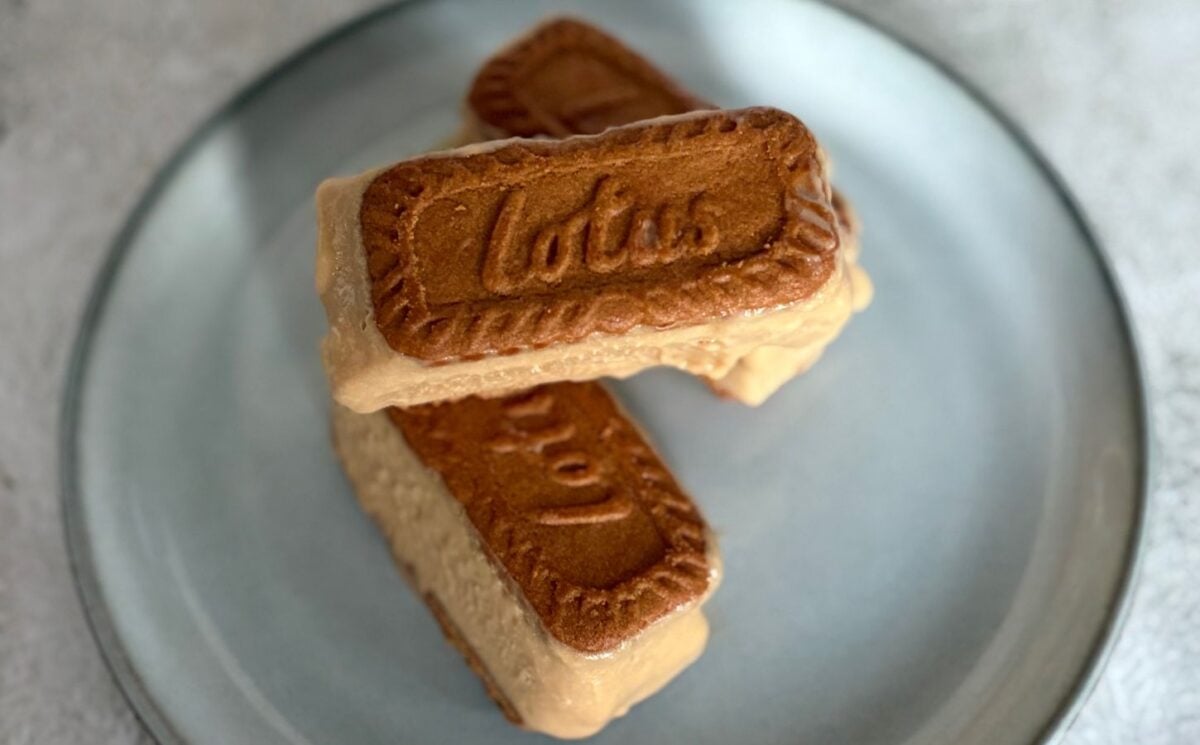
Make this easy vegan Biscoff ice cream sandwich to cool off with something sweet and creamy. Natlicious Food keeps it simple with just four ingredients and minimal effort. You whip chilled coconut cream, then blend in oat condensed milk and Biscoff spread. The result is a rich, caramel-flavored mixture that freezes beautifully between two crunchy Lotus biscuits.
You layer the biscuits in a container, pour in the cream, and freeze everything until firm. Once set, slice into sandwiches and wrap them up for a grab-and-go kid-friendly dessert. Each bite has the perfect contrast of crispy cookie and smooth, airy ice cream.
Read more: Vegan Apple And Blackberry Tart
This plant-based recipe makes eight generous portions and is free from dairy, soy, and nuts. It’s the kind of treat that’s easy to make ahead and keeps well in the freezer. Whether you’re sharing with friends or saving them for yourself, these Biscoff ice cream sandwiches deliver that nostalgic, indulgent feel – without the need for an ice cream maker.
How to make this Biscoff ice cream sandwich
Ingredients
- 400 g coconut milk from a can
- 320 g condensed milk I used oat from Nature’s charm
- 2 heaped tablespoons lotus Biscoff spread
- 16 lotus Biscoff biscuits
Instructions
- Add the coconut milk in the fridge overnight or for a couple of hours to set.
- Scoop the coconut cream out of the can and add it into a large bowl, then use a mixer to mix it.
- The add in the condensed milk, mix again, followed by the Biscoff spread, before you mix it one final time.
- Find containers that can fit the biscuits perfectly without leaving any gaps, and place a layer with the branding facing down.
- Add the cream that we just made, and cover it up with a layer of biscuits, with the branding facing up this time.
- Cover the container with a clean film and place it in the freezer to set overnight or for at least 5 hours.
- Remove from the freezer, cut them and wrap them individually in parchment paper.
- Store them in a container in the freezer.
This recipe was reposted with permission from Natlicious Food. You can find the original recipe here.