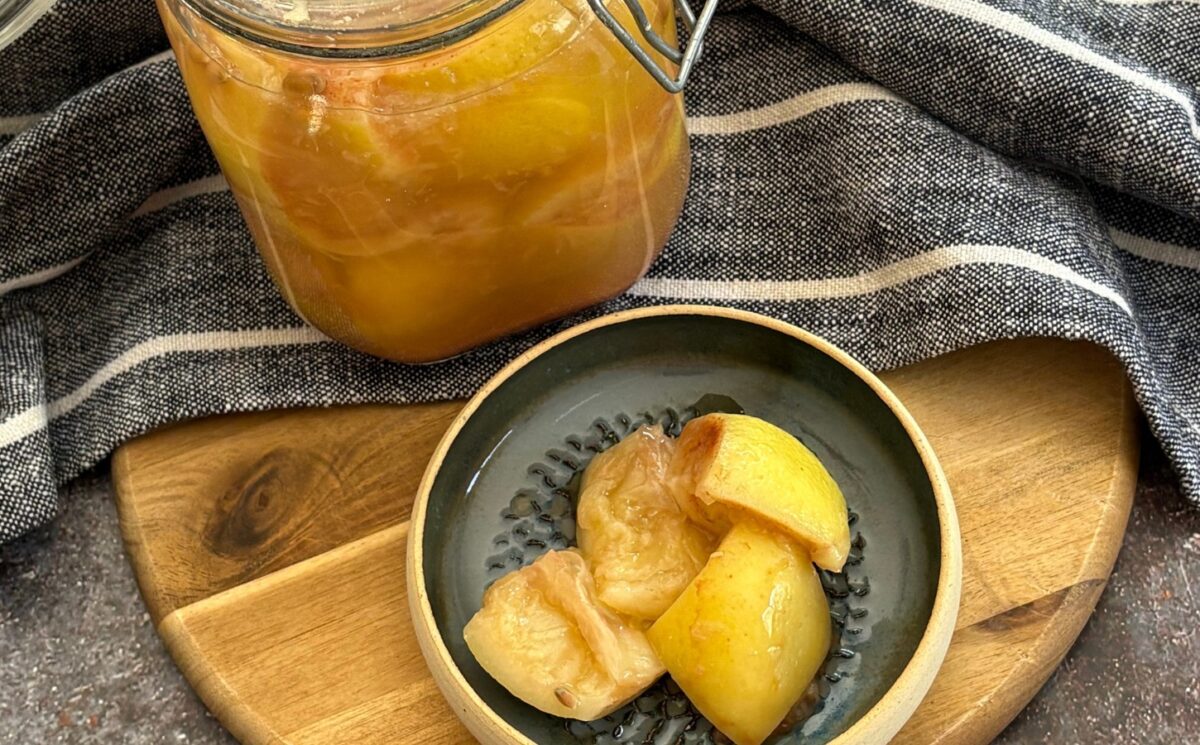
Salt preserved lemons are one of those simple kitchen staples that add a huge amount of flavor with very little effort. This version from Natlicious Food uses lemons, salt, and time to create something sharp, salty, and deeply fragrant. The lemons soften as they sit in their own juice, while the peel becomes tender and packed with concentrated citrus flavor.
The process takes a few weeks, but the prep itself stays easy. The lemons get packed tightly into a sterilized jar with plenty of salt, then pressed down until fully covered in juice. Over time, the salt cures the fruit and changes both the texture and flavor. Once ready, the peel becomes the star ingredient. It adds brightness and depth to dishes without needing much else.
Read more: Wild Garlic Edamame Pesto
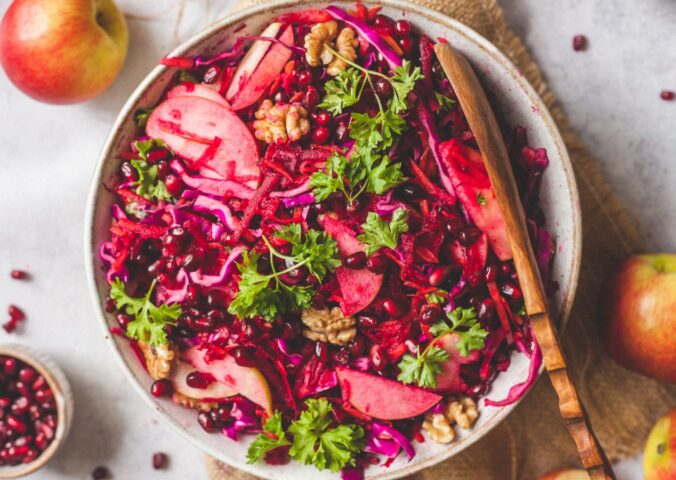
You can chop salt preserved lemons into salads, pasta sauces, grain bowls, stews, dressings, and curries. A small amount goes a long way. They work well in Mediterranean-style cooking and help lift heavier dishes with a sharp citrus finish. Keeping a jar in the fridge also means you always have a quick flavor boost ready to use.
This recipe is from Natlicious Food. Find the original here.
Method for salt preserved lemons
Ingredients
- 8-10 thin skin organic and unwaxed lemons Eureka, Meyer
- Lots of salt I used pink Himalayan
Instructions
- To sterilize your 0.5L jar, start by washing it well in warm soapy water. Then add the jar and lid in a pot with boiling water on a medium heat and boil them 10 minutes.
- After 10 minutes, remove carefully both the jar and the lid and place them upside up on clean kitchen towel to dry.
- Wash and scrub the lemons well.
- Slice off the top and bottom of each lemon (let 2 aside), so they have a flat top and bottom.
- Then stand each lemon and slice it half lengthwise not all the way through, as we want it stay attached at the base. Turn it 90 degrees and cut it again.
- Add 2-3 tablespoons in the bottom of the jar, then add a generous tablespoon of salt in each lemon, open slightly the segments to fill in the salt, but be careful not to detach the segments.
- Add the salt filled lemons in the jar and press them down, to release their juices, with something steady, I’m using a rolling pin.
- Add as many lemons as you can possibly add, then cover them with the juice of the 2 lemons you kept aside earlier.
- The lemons must be submerged into the lemon juice, you might need to use a weight to press them down. I used a small bowl to keep them down.
- Keep them in a cupboard in your kitchen for 3 weeks. And for the first 2 weeks, gently shake the jar and turn it upside down every day.
- After 3 weeks, store the jar in the fridge and start using it.
- You can use the whole lemon, in stews, pastas, salads, dressings, curries, but I prefer to use the peel since all the flavor is concentrated there.
Please note: PBN runs a sponsored content model. To explore how you can get featured, please email [email protected] or visit everkinddigital.com.